New Zealand vs Australia, 2nd ODI at Wellington, , Dec 07 2005 - Cricket Photos
RESULT
2nd ODI (D/N), Wellington, December 07, 2005, Australia tour of New Zealand
Hitting the stumps when it matters: Michael Clarke nails Brendon McCullum••AFP

Brendon McCullum is distraught after New Zealand lost by two runs••AFP
Ricky Ponting and Billy Bowden discuss a no-ball call••AFP
Adam Gilchrist runs out James Marshall••AFP
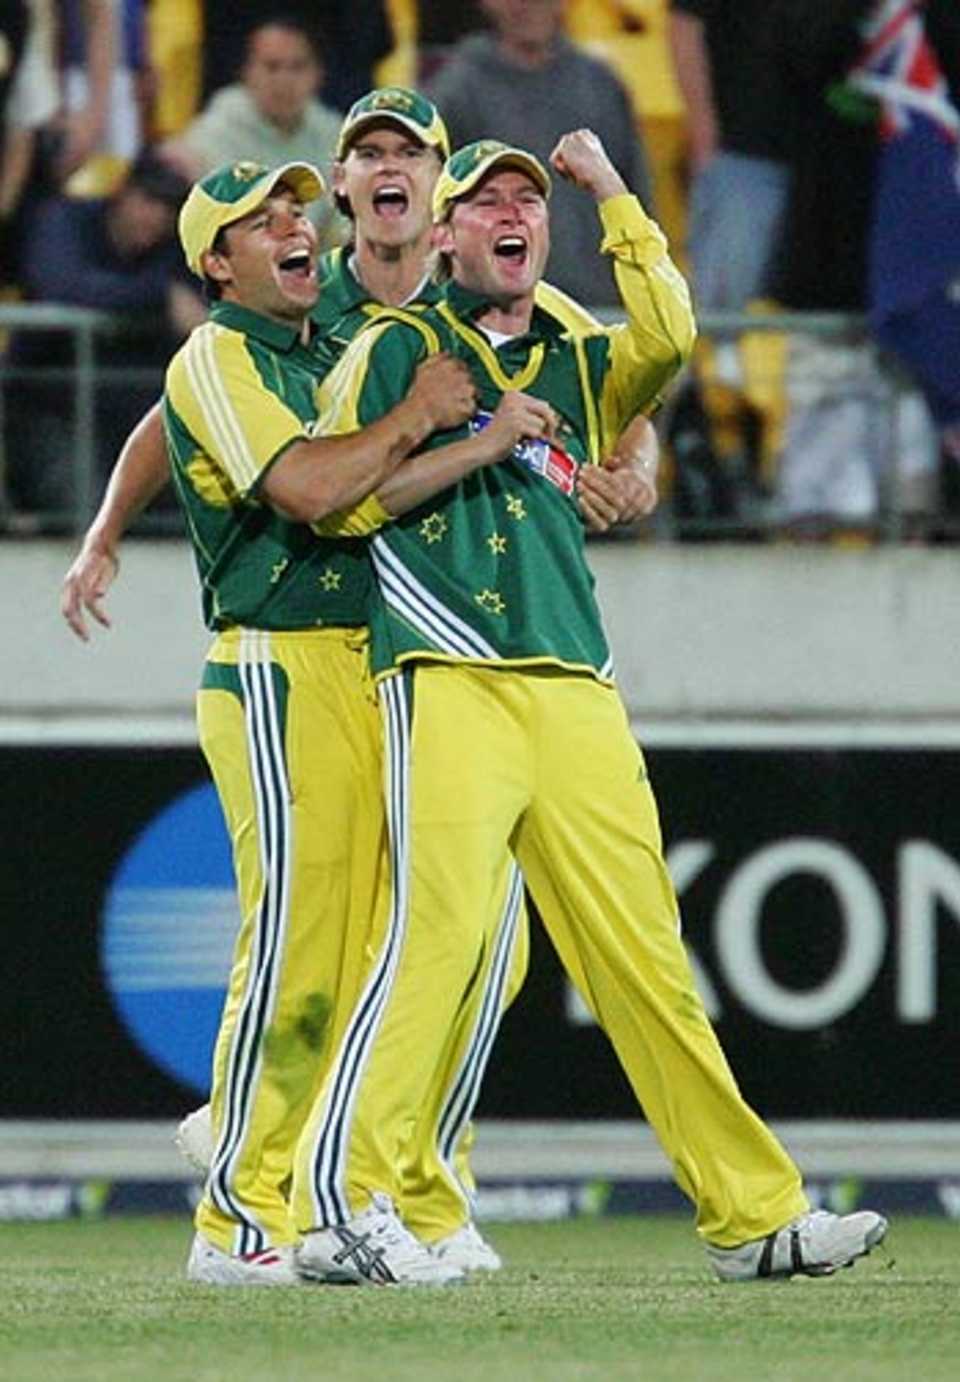
Australia won by 2 runs after Mick Lewis ran out Kyle Mills••AFP
Brad Hogg is jubilant after catching Scott Styris••Getty Images
Craig McMillan was out for just 9 at Wellington••Getty Images
Lou Vincent became Mick Lewis's first international wicket••Getty Images
Lou Vincent got New Zealand off to a blazing start••Getty Images
Andrew Symonds celebrates his century and began his blitz soon after••Getty Images
Brett Lee ruins the outfield but saves precious runs••AFP
Brendon McCullum gambled and lost by taking on Michael Clarke at point••AFP
Brendon McCullum fends a Lee beamer to third man for four••AFP
Australia erupt after the third umpire rules Kyle Mills out••AFP
Mick Lewis runs out Kyle Mills to win the game for Australia••AFP
Australia celebrate after dismissing Hamish Marshall••Getty Images
Mick Lewis celebrates after dismissing Lou Vincent••Getty Images
Lou Vincent suffered a leg injury but that didn't slow his strike rate••Getty Images
Lou Vincent pulls during his 71 off 49 balls••Getty Images
Michael Clarke made a valuable 82 off 77 balls••Getty Images
Match Coverage
Instant answers to T20 questions
New Zealand Innings
<1 / 3>
Terms of Use|Privacy Policy|Your US State Privacy Rights|Children's Online Privacy Policy|Interest - Based Ads|Do Not Sell or Share My Personal Information|Feedback
© 2024 ESPN Sports Media Ltd. All rights reserved